

 English
 Español
Using a framing square for complex roof angles and cuts requires a solid understanding of its markings and the principles of roof framing. Here are some advanced techniques for using a framing square in such scenarios:
1.Determining Pitch and Angle:
Pitch, denoting the roof's slope, plays a fundamental role in roof framing. It is represented as a ratio, such as 6/12, indicating a rise of 6 units for every 12 units of horizontal run. Calculating the corresponding angle is critical.
Locate the rise (vertical dimension) and run (horizontal dimension) measurements on the framing square, often inscribed on the tongue and blade, respectively.
Apply trigonometric principles: tan θ = rise/run. This equation yields the angle (θ) in degrees. This angle is pivotal for accurately cutting rafters and ensuring roof components fit seamlessly.
2.Finding Common Rafters:
Common rafters, forming the backbone of roof structures, require precise measurement and layout.
Align the framing square's heel at the bird's mouth (where the rafter rests on the top plate of the wall) and extend the blade to your desired span.
The tongue of the framing square will provide the length measurement, while the square's markings facilitate the plumb and seat cuts.
3.Calculating Hip and Valley Rafters:
Hip and valley rafters are angled components connecting the roof's corners and intersections. Their accurate calculation ensures proper framing.
Customize the framing square to accommodate the roof pitch and the angle at which the hip or valley rafter intersects.
Calculate the lengths and angles required for precise fitting and structural integrity.
4.Scribing for Irregular Surfaces:
Occasionally, roof framing involves irregular surfaces such as log cabins or non-standard beams.
Utilize the framing square for scribing, allowing you to replicate the exact shape of the irregular surface.
Press the square against the surface to trace the contour, resulting in a template for accurate cuts.
5.Calculating Compound Angles:
Compound angles occur when rafters possess both pitch and intersection angles due to complex roof designs.
Determine the pitch and adjust the framing square accordingly.
By combining the pitch and intersection angle, you can accurately mark the necessary cuts, ensuring a precise fit.
6.Determining Jack Rafters:
Jack rafters, located between hips or valleys, necessitate precise calculations for lengths and cuts.
Modify the framing square to accommodate the pitch and intersecting angles.
Calculate and mark the jack rafter lengths and corresponding cuts to maintain uniformity in the roof structure.
7.Accounting for Overhangs and Extensions:
Roof overhangs and extensions add complexity to rafter layout and require meticulous measurement.
Adjust the framing square's measurements to account for the desired overhang distance.
Ensure accurate marks are made to accommodate overhangs and extensions while maintaining structural integrity.
8.Checking for Plumb and Level:
Post-installation of rafters, verify their alignment by using the framing square.
Position the square against the rafter and assess for vertical (plumb) and horizontal (level) alignment.
This step ensures the roof structure is stable, visually appealing, and adheres to construction standards.
9.Double-Checking Measurements:
Prior to making any cuts, rigorously review all measurements, angles, and markings on the lumber.
Accurate measurements are paramount to preventing costly errors and guaranteeing precision in the roof framing process.
10.Practice and Experience:
Proficiency in leveraging a framing square for complex roof angles and cuts is honed through practice.
Commence with simpler projects to build competence and gradually progress to more intricate roof designs, integrating these advanced techniques effectively.
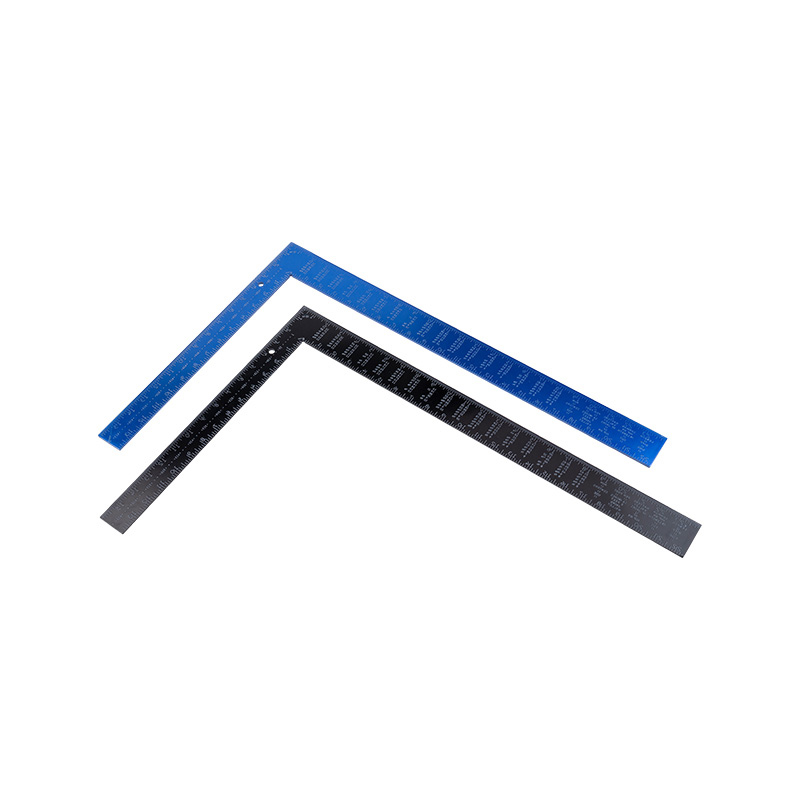
1. Extruded aluminum with black or blue oxidation
2. High visibility engraved graduations
3. Have 8"x12" and 16"x24"


