

 English
 Español
Digital calipers typically have the capability to display measurements in various units of measurement, with the most common units being:
1.Millimeters (mm)
2.Inches (in)
3.Fractions of an inch (e.g., 1/16, 1/32, or 1/64 inch)
To switch between these units of measurement on a digital caliper, you can follow these general steps:
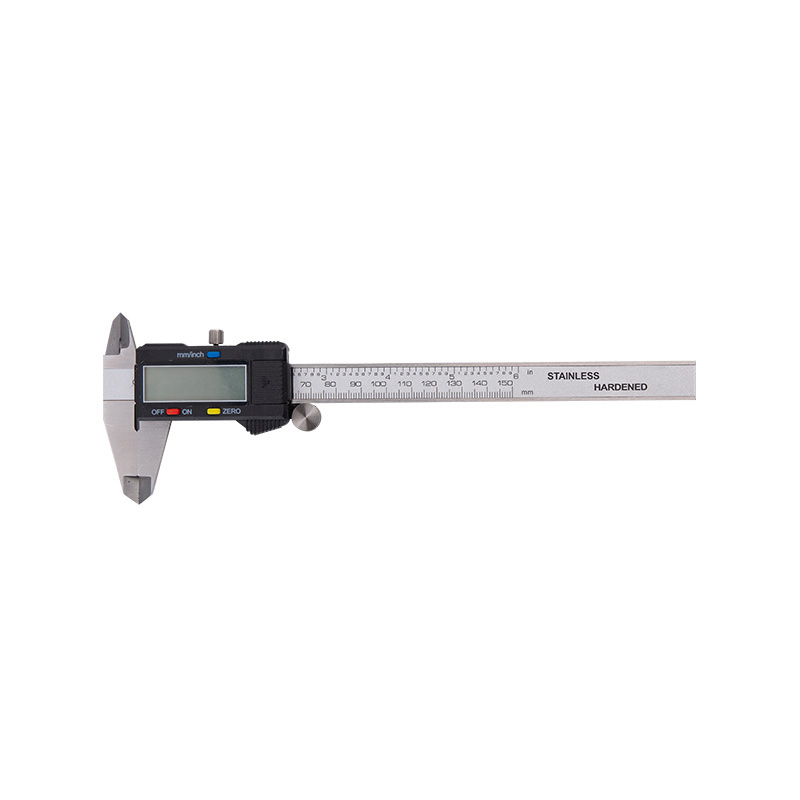
1.Turn On the Caliper:
Begin the measurement process by activating the digital caliper. Depending on the model, this might involve pressing a dedicated power button, a hold or zero button, or simply moving the measuring jaws. Ensure that the caliper's display is clear and readable.
2.Set the Measurement Mode:
Most digital calipers are equipped with a "MODE" or similar button, typically located near the digital display. This button is used to toggle between different measurement units and modes.
3.Select the Desired Unit:
To change the unit of measurement, press the "MODE" button repeatedly. Each press will cycle through the available measurement units, such as millimeters (mm), inches (in), and fractions of an inch (e.g., 1/16, 1/32, or 1/64 inch). Observe the digital display to ensure that the correct unit is selected.
4.Take Your Measurement:
Once the desired unit is displayed, you can proceed to take measurements. Gently open the caliper's jaws, position them around the object or feature you wish to measure, and close the jaws to make contact with the object. Ensure that the jaws are secure and stable for an accurate reading.
5.Zero or Tare the Caliper:
Depending on your measurement requirements, you may need to establish a reference point by zeroing or taring the caliper. This is especially useful when taking incremental measurements or comparing dimensions. To zero the caliper, place the jaws together and press the "ZERO" or "TARE" button. This will set the current position as the reference point (0) for subsequent measurements.
6.Turn Off the Caliper:
To preserve battery life, it's advisable to turn off the digital caliper when you have completed your measurements. Some models feature an automatic power-off function that activates after a period of inactivity, while others may require manually switching off the device using a power button or a specific sequence of button presses. Refer to the user manual for your specific caliper model for guidance on powering it down.
7.Maintenance and Calibration:
Regularly calibrate and maintain your digital caliper to ensure accuracy. Calibration should be performed according to the manufacturer's recommendations and may involve adjusting the caliper to a known standard. Routine maintenance includes keeping the measuring surfaces clean and free of debris, as well as storing the caliper in a protective case when not in use to prevent damage.
It's important to consult the user manual specific to your digital caliper model, as the exact steps for changing measurement units may vary slightly between different manufacturers and models. However, the process generally involves pressing a dedicated button (such as "MODE") to toggle through the available units until you reach the one you want to use.
High Accuracy Digital caliper
1. Plastic display case
2. Accuracy:±0.001''/ ±0.03mm
3. Conversion:Metric / Inch System interchange


