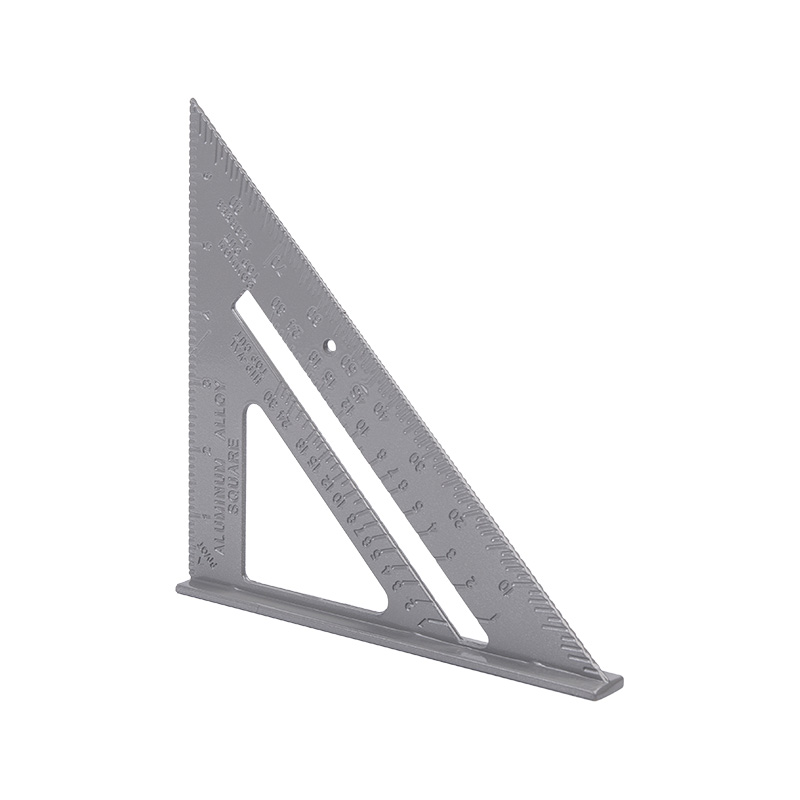
Ensuring accurate measurements and angles when using a rafter square is crucial for precision in carpentry and other projects. Here's how to do it effectively:
Select a High-Quality Rafter Square: Invest in a rafter square manufactured from durable materials like aluminum or steel, ensuring longevity and resistance to wear. Look for clear and precise markings that are deeply etched or laser-etched for readability and longevity. A well-made rafter square will maintain its accuracy over time, providing consistent results in your projects.
Check for Squareness: Before commencing any measurements or markings, it's imperative to verify that your rafter square is perfectly square. To do this, place the square against a known straight edge or another square, ensuring that both edges align perfectly without any gaps or overlaps. If the square is not square, adjustments may be necessary, or you may need to replace it with a more accurate one.
Secure the Workpiece: To prevent inaccuracies caused by movement or slippage, firmly secure the workpiece in place using clamps or other suitable methods. This ensures that the rafter square remains stable during measurements and markings, reducing the risk of errors.
Use the Correct Edge: Rafter squares typically feature two main edges: the longer body and the shorter tongue. The longer body is primarily used for marking measurements along the length of the material, while the shorter tongue is ideal for creating perpendicular lines or angles. Selecting the appropriate edge for the task at hand is crucial for accurate results.
Align Markings Carefully: When positioning the rafter square for measurements or markings, take care to align the edge of the square precisely with the material's edge. Any misalignment can result in inaccuracies, so double-check the alignment before making any marks. Additionally, ensure that the square is held firmly in place throughout the marking process to maintain consistency.
Utilize Pivot Points: Many rafter squares are equipped with pivot points or adjustable arms that allow for the creation of various angles. Before using these features, ensure that the pivot point is securely locked in place to prevent shifting during use. When setting angles, use a reliable angle-measuring tool or protractor to verify the accuracy of the angle created.
Utilize Multiple Markings: Rafter squares often feature multiple scales and markings for different types of measurements and angles. Familiarize yourself with these markings and select the appropriate scale for your specific task. Using the correct scale ensures that your measurements are accurate and consistent, leading to precise results in your projects.
Verify Angles: While rafter squares are designed to provide accurate angle measurements, it's always a good practice to double-check critical angles using a separate angle-measuring tool or protractor. This extra verification step helps to ensure that angles are precisely as required, especially in projects where accuracy is paramount.
Practice Consistency: Developing a consistent technique for holding and using the rafter square contributes to improved accuracy over time. Experiment with different grip styles and positioning methods to find what works best for you. Consistent use of the same technique helps to minimize variability in measurements and markings, leading to more reliable results in your projects.
Cast Aluminium rafter square


